Yes, yes yes! This is what I’ve been looking for!
Step 2: Tackle the Exterior Grease
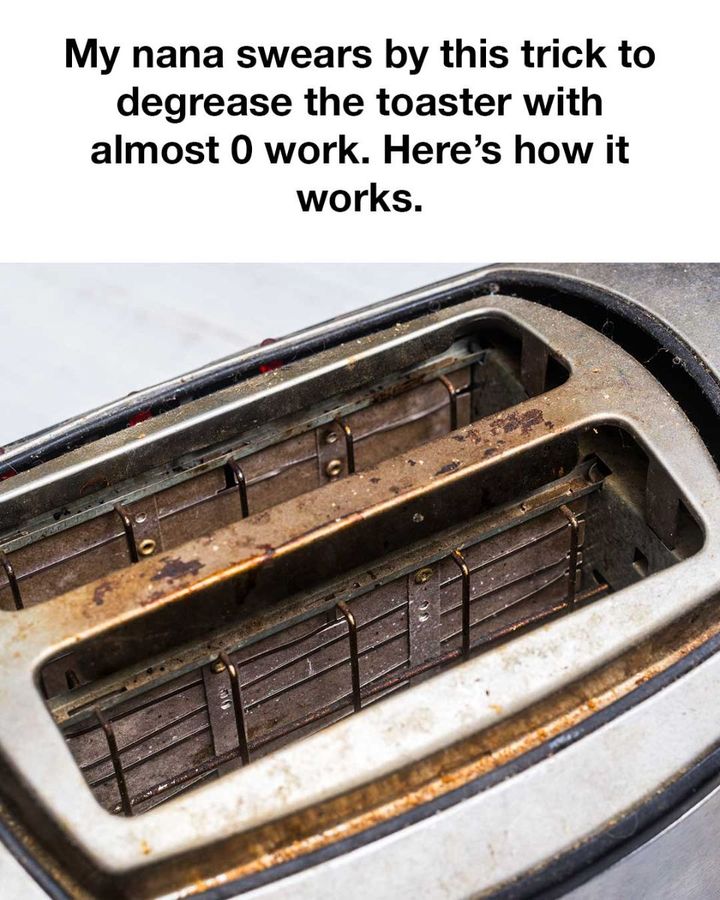
Now for the fun part—degreasing. Mix equal parts white vinegar and warm water in a small bowl. Soak a soft cloth or sponge in the solution and wring out the excess. Gently wipe down the exterior of the toaster, focusing on areas with visible grease buildup. The vinegar will immediately start breaking down the oily residue.
If there are any extra stubborn spots, dip the cloth in some baking soda and use it to lightly scrub the area. The baking soda will work as a gentle abrasive without scratching the toaster’s surface. Make sure you avoid the heating elements or any electrical components.
Step 3: Clean the Nooks and Crannies
The crevices of your toaster can collect grease and crumbs over time, making it hard to reach them with just a cloth. For this, Nana uses an old toothbrush or a cotton swab. Dip it in the vinegar solution and gently scrub around the knobs, buttons, and any tight spaces.
For the crumb tray or removable parts, you can soak them in warm water with a splash of vinegar for about 10–15 minutes. This loosens any stubborn grease or crumbs. After soaking, scrub lightly with baking soda and rinse with clean water.
Step 4: Polish It Up
Once you’ve removed all the grime and grease, wipe down the entire toaster with a clean, damp cloth to remove any vinegar or baking soda residue. To make it shine, you can finish with a microfiber cloth to polish the exterior. This step gives the toaster a nice gleam without any streaks.
Nana’s tip: If your toaster is stainless steel, use a small amount of olive oil or baby oil on a microfiber cloth and wipe down the exterior in the direction of the grain. This trick helps prevent fingerprints and gives it a professional, shiny finish.
Step 5: Let It Dry and Reassemble
